Still need help?
Writing your project page
Contents
Screendoor’s project pages tell your audience why they should fill out your form, and give them the information they need to start.
Making a first impression with project summaries
When someone tries to find your Screendoor project in a web search, or someone links to it on social media, they will see your project’s summary alongside its name and your logo.
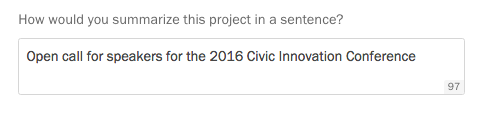
After creating a project, you can add a summary to your project, right below the Description field. Try to describe your project in a sentence. The ideal summary compels your audience to click through and view your project.
You can always edit your summary later. Just click the “Edit” link on the right side of the project header.
Adding a description
Every Screendoor project comes with a gorgeous Forms.fm landing page, with your own logo and color scheme. When someone visits your project, the description is the first thing they’ll see.

Right after creating a project, you can add a description in the Project Page step of the project wizard.
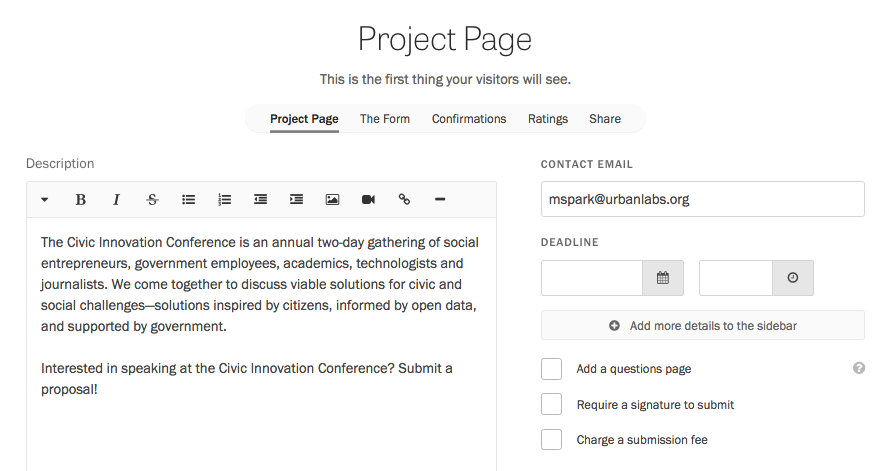
The description is a chance for you to go into detail about your project, convince your audience to complete your form, and prepare them for anything they’ll need going forward. Why should they take the time to respond? Is there any documentation they need, or information they need to know, before they start?
To edit your description later, click the “Edit” link on the right side of the project header.
Uploading attachments
If your respondents need additional documentation to complete your form, you can upload files as attachments to your form. Select “Project Page” in the project wizard and press the “Upload a new attachment” button under the Description field. Once your file has been uploaded successfully, you can upload another file by pressing the “Upload a new attachment button” again.
Highlighting important information
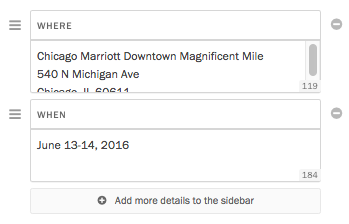
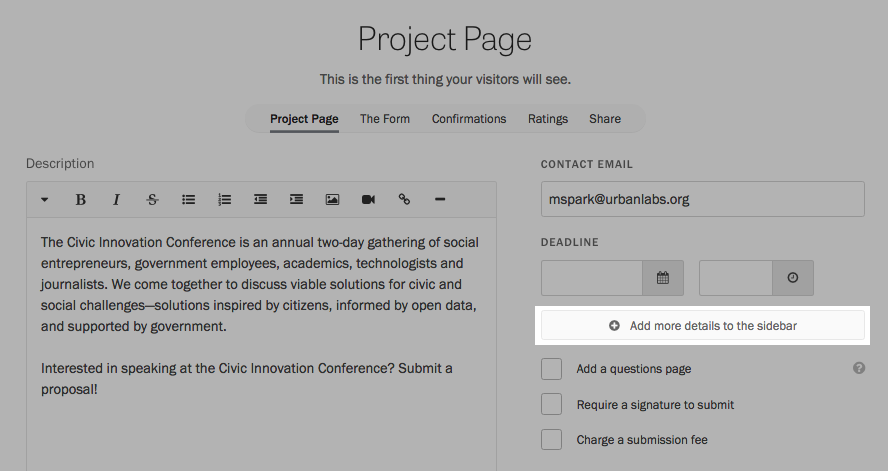
On large screens (like desktops and laptops), your project page is displayed in two columns: your description, and a sidebar on the right. If you want to call out concise, relevant information near the top of your project page, you can add information to the sidebar. For example, if you’re creating a job application, you may want to add salary information and the location of your office.
To get started, click “Project Page” in the project wizard, and press the “Add more details to the sidebar.”
You can add, reorder, and remove these details from the sidebar.